
Ten Tips For Flawless DIY House Painting
So you’ve decided to take on a DIY house painting project? Good for you! It’s fun, and more cost-effective. Here are ten tips that will help you achieve the best results in minimum time, effort and money.

More ideas and inspiration
-
-

Designing Your Home Office Or Workspace
Read More >> -
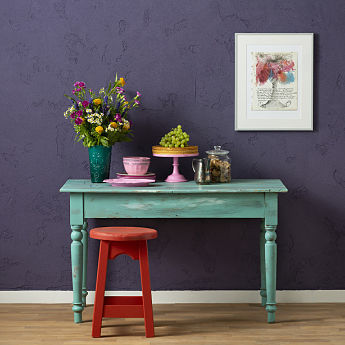
Eating In Style – An Easy Dining Room Makeover
Read More >>


